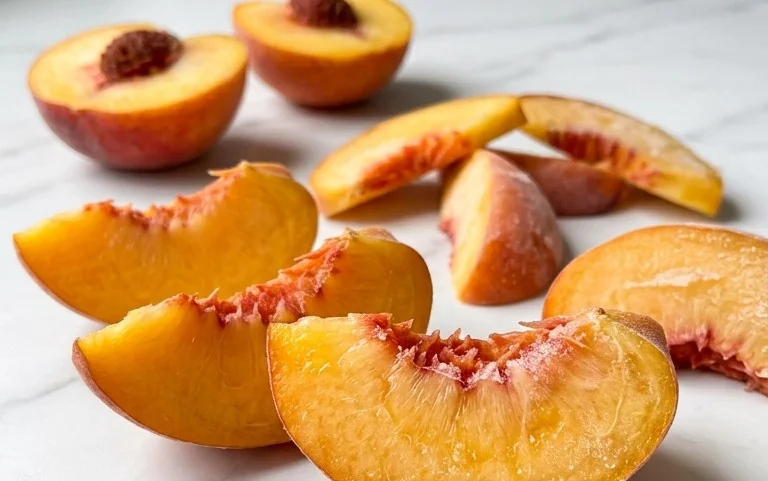
Homemade Fruit Leather Recipe- Easy & Delicious Snack
Homemade fruit leather recipe is one of those magical kitchen transformations that feels like pure alchemy. Imagin extracte taking simple, ripe fruit and turning it into a chewy, intensely flavored treat that transports you back to childhood summers. That’s the power of a good homemade fruit leather recipe. It’s not just a snack; it’s a nostalgic journey, a healthy alternative to processed sweets, and a fantastic way to use up an abundance of seasonal produce. What makes it truly special is the incredible versatility – you can craft endless flavor combinations, from classic strawberry to exotic mango-berry blends. Plus, the satisfaction of creating something so delicious and wholesome from scratch is unparalleled.
Why You’ll Love This Recipe
This homemade fruit leather recipe is surprisingly simple, requiring minimal ingredients and active preparation time. It’s perfect for packing in lunchboxes, enjoying as an afternoon pick-me-up, or even serving as a unique dessert. Get ready to impress yourself and your loved ones with this delightful, naturally sweet creation!
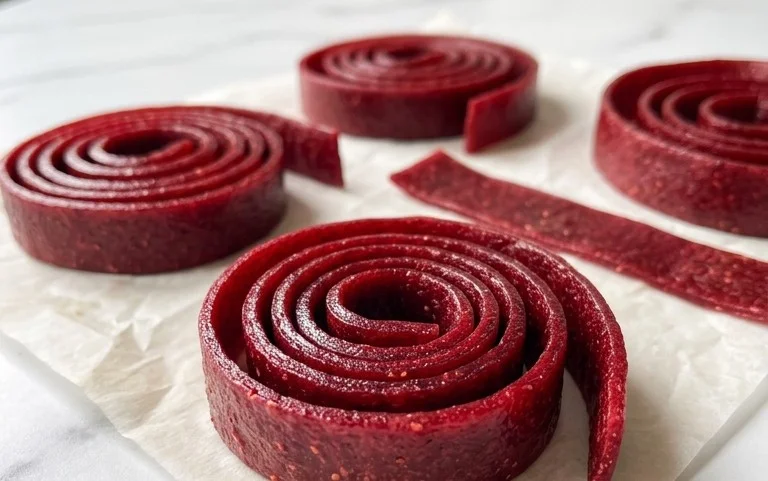
Homemade Fruit Leather Recipe
There’s something incredibly satisfying about making your own fruit leather. It’s a simple process that transforms fresh fruit into a chewy, intensely flavored treat that’s worlds away from the store-bought stuff. Plus, you have complete control over the ingredients – no artificial colors or flavors here! My kids absolutely love these, and honestly, so do I. They’re perfect for lunchboxes, after-school snacks, or even a fun dessert.
The beauty of fruit leather is its versatility. You can use almost any fruit you have on hand. Berries, stone fruits, apples, pears – they all work wonderfully. For this recipe, we’ll focus on a classic combination, but feel free to experiment once you get the hang of it. The key is a good balance of sweetness and a touch of tartness to really make the fruit flavors pop.
Ingredients:
Instructions:
1. Prepare Your Fruit:
The first step is to get your fruit ready. Wash it thoroughly and then chop it into manageable pieces. If you’re using berries, you can leave them whole or give them a quick chop if they are particularly large. For fruits like apples or pears, you’ll want to core them and chop them into roughly ½-inch to 1-inch pieces. The size doesn’t have to be perfectly uniform, as everything will be blended smooth anyway. If you’re using frozen fruit, make sure to thaw it completely and drain off any excess liquid before measuring out your 2 cups. This helps ensure a good consistency for the leather.
2. Cook the Fruit:
Place your chopped fruit into a medium saucepan. Add the white sugar and the juice of half a lemon. The sugar helps to draw out the fruit’s natural juices and aids in preservation, while the lemon juice provides a bright tangin extractess that balances the sweetness and helps the fruit retain its vibrant color. Stir everything together. Now, place the saucepan over medium heat. Bring the mixture to a gentle simmer, stirring occasionally. You want to cook the fruit until it softens considerably and starts to break down. This usually takes about 10-15 minutes. You should see the fruit become mushy and release a good amount of juice. Don’t let it boil vigorously; a gentle simmer is perfect.
3. Blend the Fruit Mixture:
Once the fruit has softened and is easily mashable, it’s time to create a smooth puree. Carefully transfer the hot fruit mixture to a blender or a food processor. Be very cautious when blending hot liquids, as they can create pressure and steam. Make sure the lid is securely on and start blending on a low speed, gradually increasing to high. Blend until the mixture is completely smooth and there are no chunks of fruit remaining. If you want an even smoother texture, you can strain the puree through a fine-mesh sieve at this stage, but for most fruits, this isn’t strictly necessary. Let the puree cool slightly for a few minutes before proceeding.
4. Prepare Your Baking Sheet:
While the fruit puree is cooling, prepare your baking sheet. You’ll need a rimmed baking sheet, preferably a half-sheet pan. Line the baking sheet with parchment paper or a silicone baking mat. It’s crucial to use parchment paper or a silicone mat because fruit leather is sticky, and this will prevent it from adhering to the pan. Make sure the lining covers the entire surface of the baking sheet and extends slightly up the sides. Some people like to lightly grease the parchment paper, but I usually find it unnecessary if the puree isn’t too thick.
5. Spread and Bake:
Pour the cooled fruit puree onto the prepared baking sheet. Using a spatula, spread the puree into a thin, even layer. Aim for a thickness of about ¼ inch. Try to get the edges as smooth as possible and ensure there are no gaps. The thinner the layer, the faster it will dry and the chewier the final product will be. A thicker layer will result in a more pliable but potentially longer-drying leather. Now, preheat your oven to its lowest setting, typically around 170°F (75°C) to 200°F (95°C). Place the baking sheet in the preheated oven. You’ll want to bake the fruit leather for several hours, or until it is no longer sticky to the touch and has a leathery, pliable texture. This can take anywhere from 4 to 8 hours, depending on the thickness of your puree and the humidity in your kitchen. Check on it periodically, and if you notice the edges drying out faster than the center, you can gently rotate the pan. The goal is to dry it out, not cook it further.
6. Cool and Cut:
Once the fruit leather is completely dry and feels leathery (it should peel away from the parchment paper cleanly), remove the baking sheet from the oven. Let the fruit leather cool completely on the baking sheet. This is important; trying to cut it while it’s still warm can make it tear and become sticky. Once cooled, you can peel the entire sheet off the parchment paper. Then, using a pizza cutter or a sharp knife, cut the fruit leather into desired shapes – strips, squares, or fun shapes using cookie cutters. For easy storage and to prevent sticking, you can roll up the strips or squares, and for an extra touch, wrap them individually in wax paper or parchment paper. Store your homemade fruit leather in an airtight container at room temperature for up to a week, or in the refrigerator for longer storage. Enjoy your delicious, homemade creation!
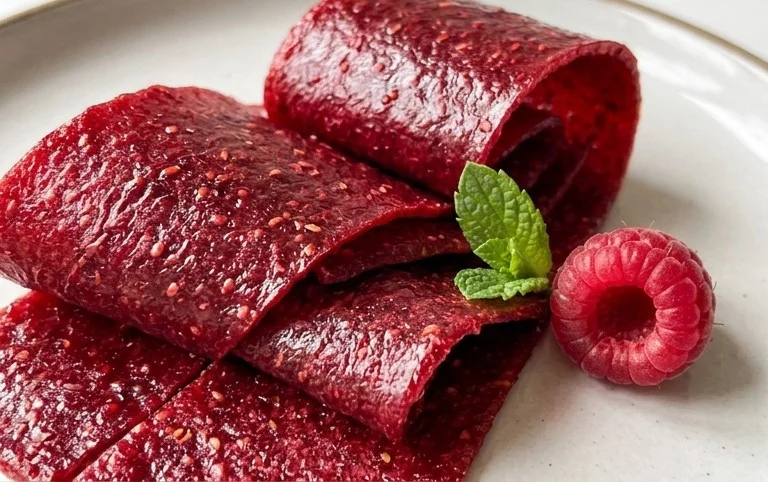
Conclusion:
Making your own homemade fruit leather is a truly rewarding experience! It’s a fantastic way to preserve the vibrant flavors of fresh fruit, eliminate unwanted preservatives and added sugars often found in store-bought versions, and create a delightfully chewy, healthy snack that everyone will love. The process is surprisingly simple, requiring minimal ingredients and equipment, making it accessible for bakers of all skill levels. The versatility of this recipe is another major draw; the possibilities are truly endless!
Once your fruit leather is cooled and cut, the serving suggestions are as varied as the fruits you choose. Enjoy it as a standalone chewy treat, perfect for lunchboxes, hiking trips, or an afternoon pick-me-up. You can also roll it up to resemble candy, or cut it into fun shapes for a festive touch. For variations, don’t be afraid to experiment! Combine different fruits for unique flavor profiles – think strawberry-banana, apple-cinnamon, or mango-lime. A pinch of spice like gin extractger or a touch of vanilla extract can add an extra layer of complexity.
I truly encourage you to give this homemade fruit leather recipe a try. It’s a delicious, nutritious, and fun activity to do with family, and the satisfaction of creating your own healthy snacks from scratch is unparalleled. Get ready to impress yourself and your loved ones with this simple yet spectacular treat!
Frequently Asked Questions:
Q: How long does homemade fruit leather typically last?
A: Properly stored in an airtight container at room temperature, your homemade fruit leather can last for about 1-2 weeks. For longer storage, you can refrigerate it for up to a month, or even freeze it for several months.
Q: Can I make fruit leather without adding any sugar?
A: Absolutely! The sweetness of your fruit leather will come directly from the fruit itself. If your fruit isn’t very ripe or sweet, you might consider adding a touch of natural sweetener like honey, maple syrup, or agave nectar, but it’s often not necessary.
Q: What’s the best way to store fruit leather to prevent it from sticking?
A: Once your fruit leather is completely cooled and set, it’s best to wrap individual pieces or roll them up. Using parchment paper or wax paper between layers when storing multiple pieces in a container will help prevent them from sticking together.
Homemade Fruit Leather
A simple and delicious recipe for making your own fruit leather at home, perfect for snacks.
Ingredients
-
2 cups fruit, chopped
-
3 tbsp white sugar
-
½ whole lemon, just the juice
-
1 tsp vanilla extract
-
¼ tsp cinnamon
Instructions
-
Step 1
Wash and chop your chosen fruit into small pieces. -
Step 2
Combine the chopped fruit, white sugar, and lemon juice in a saucepan. -
Step 3
Cook over medium heat, stirring occasionally, until the fruit is soft and broken down, about 10-15 minutes. -
Step 4
Puree the cooked fruit mixture until smooth using an immersion blender or in a regular blender. -
Step 5
Stir in vanilla extract and cinnamon. If the mixture is too thick, add a tablespoon of water. -
Step 6
Pour the fruit puree onto a baking sheet lined with parchment paper, spreading it thinly and evenly. -
Step 7
Bake at the lowest oven setting (around 170°F or 75°C) for 4-6 hours, or until the leather is no longer sticky to the touch. -
Step 8
Let it cool completely on the baking sheet before cutting into strips or shapes.
Important Information
Nutrition Facts (Per Serving)
It is important to consider this information as approximate and not to use it as definitive health advice.
Allergy Information
Please check ingredients for potential allergens and consult a health professional if in doubt.