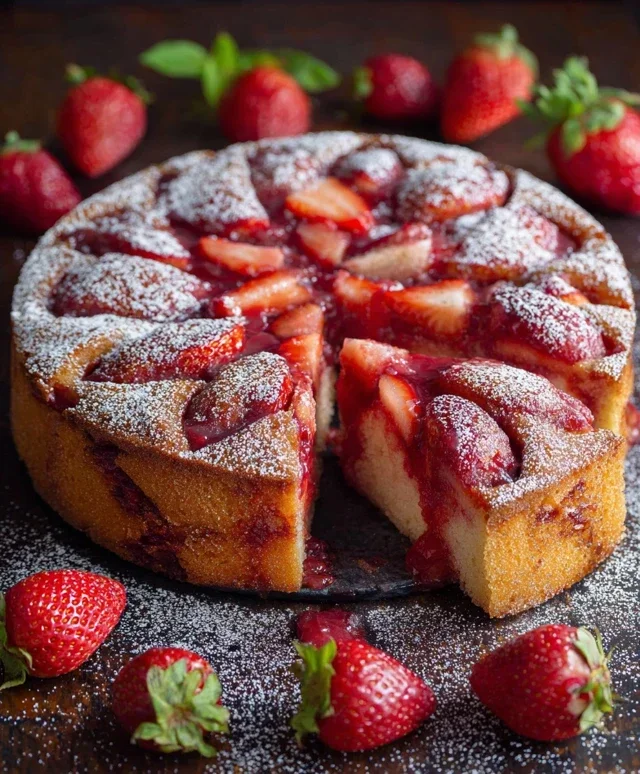
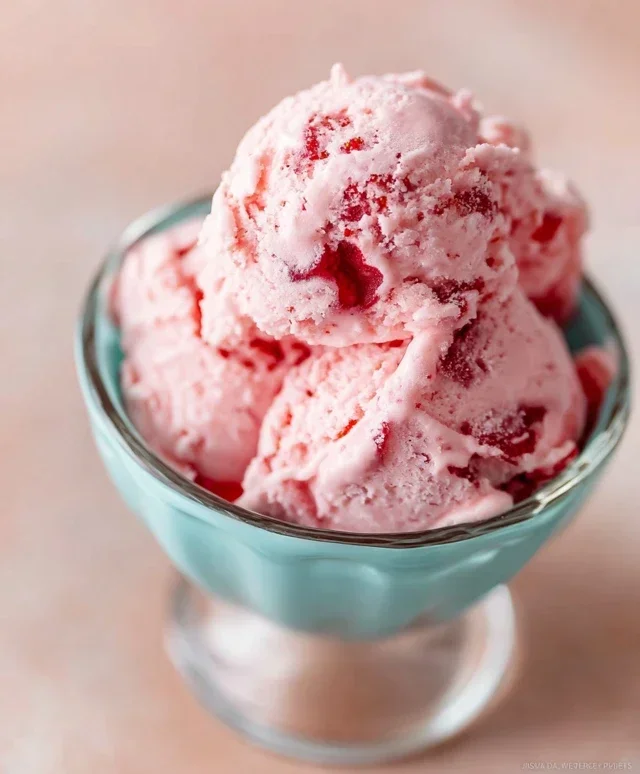
Easy Homemade Strawberry Ice Cream Recipe
Homemade Strawberry Ice Cream is more than just a dessert; it’s a nostalgic journey back to sun-drenched summer days and pure, unadulterated joy. Who doesn’t have a cherished memory associated with a scoop of creamy, vibrant strawberry ice cream? It’s the quintessential taste of childhood, a simple pleasure that has captivated hearts for generations. What truly sets this delightful treat apart is the burst of fresh, ripe strawberry flavor that no store-bought version can ever quite replicate. The subtle tang of the berries, perfectly balanced with sweet, rich cream, creates a symphony of taste that is both refreshing and utterly decadent. Making homemade strawberry ice cream allows us to capture that essence, infusing our own love and care into every churn, resulting in a truly special frozen masterpiece. Get ready to create your own unforgettable memories with this classic, irresistible dessert.
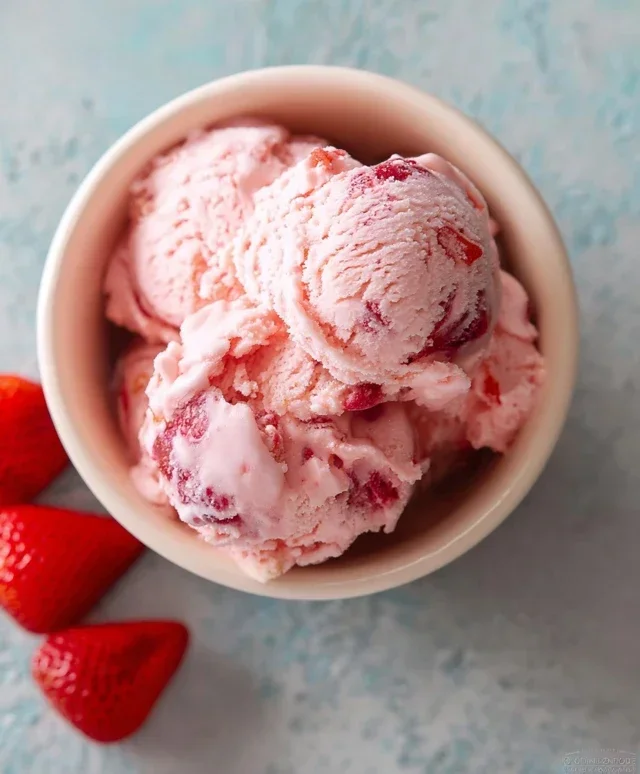
Homemade Strawberry Ice Cream
There’s something undeniably magical about homemade ice cream. The creamy texture, the intense flavor, and the sheer satisfaction of creating it yourself are unparalleled. And when it comes to classic summer flavors, it’s hard to beat the sweet, vibrant taste of strawberries. This recipe for homemade strawberry ice cream is surprisingly simple and delivers a truly exceptional result. Forget the artificial flavors and icy textures of store-bought options; we’re going to create a luscious, rich, and bursting-with-flavor ice cream that will have everyone asking for seconds.
The beauty of this recipe lies in its simplicity, relying on the natural sweetness and essence of fresh strawberries. We’ll be infusing the base with their delightful flavor, creating a smooth and creamy texture that melts in your mouth. This is the perfect treat for a warm afternoon, a special occasion, or simply when you’re craving a little bit of homemade happiness.
Ingredients:
Now that we have our star ingredients ready, let’s get to the fun part – transforming them into a frozen masterpiece!
Preparing the Strawberry Base
The first step in creating our incredible strawberry ice cream is to really unlock the flavor of the fresh strawberries. This involves a simple maceration process that draws out their juices and intensifies their sweetness.
Creating the Ice Cream Base
With our vibrant strawberry puree ready, it’s time to build the creamy foundation for our ice cream. This is where the dairy comes in, providing that rich, luscious mouthfeel we all crave.
Churning and Freezing Your Ice Cream
This is where the magic truly happens, transforming our liquid mixture into delightful frozen dessert.
Enjoy your beautiful, homemade strawberry ice cream! It’s a taste of pure summer bliss.
Conclusion:
Making homemade strawberry ice cream from scratch is an incredibly rewarding experience, and this recipe truly delivers on taste and texture. You’ll be amazed at how simple it is to create a creamy, decadent dessert bursting with fresh strawberry flavor, far superior to anything store-bought. The vibrant pink hue and the delightful sweetness make it a perfect treat for any occasion, from a casual summer afternoon to a special celebration. I truly encourage you to give this fantastic recipe a try – you won’t regret diving into this delicious creation!
For serving, this delightful homemade strawberry ice cream is wonderful on its own, but consider topping it with a scattering of fresh strawberry slices, a drizzle of balsamic glaze for a sophisticated twist, or even a sprinkle of chopped pistachios for added crunch. It also makes a spectacular accompaniment to warm berry cobblers or brownies. Don’t be afraid to experiment with variations, such as adding a swirl of cream cheese for a cheesecake-inspired flavor, or a hint of basil for an unexpected herbaceous note.
Frequently Asked Questions:
Why is my homemade strawberry ice cream not as creamy as store-bought?
Achieving creaminess often comes down to the fat content and how well the ice crystals are managed. Using full-fat dairy (heavy cream and whole milk) is crucial. Ensuring your base is well-chilled before churning and not over-churning are also important factors. Properly storing the ice cream in a truly airtight container can prevent ice crystal formation over time.
Can I make this recipe without an ice cream maker?
Absolutely! While an ice cream maker makes the process easier and typically yields a creamier result, you can achieve delicious homemade strawberry ice cream without one. You’ll need to freeze the base in a shallow container and stir it vigorously with a fork or whisk every 30-45 minutes for about 3-4 hours until it reaches your desired consistency. It takes a bit more effort, but the flavor is still incredible.
How long will homemade strawberry ice cream last in the freezer?
For the best quality and flavor, homemade strawberry ice cream is typically best consumed within 1 to 2 weeks when stored properly in an airtight container. After this period, while it might still be safe to eat, the texture can start to degrade due to ice crystal formation, and the fresh strawberry flavor might lessen.
Homemade Strawberry Ice Cream
A simple and delicious homemade strawberry ice cream recipe.
Ingredients
-
1 1/2 cups strawberries, hulled and diced
-
2 Tbsp honey
-
1/2 cup granulated sugar
-
1 tsp lemon juice
-
1 cup heavy whipping cream
-
1/2 cup half and half
-
1 tsp vanilla extract
Instructions
-
Step 1
In a bowl, combine the diced strawberries with honey, granulated sugar, and lemon juice. Let sit for 15-30 minutes to allow the strawberries to macerate. -
Step 2
Mash the strawberries with a fork or potato masher until mostly smooth, leaving some small chunks for texture. -
Step 3
In a separate bowl, whisk together the heavy whipping cream, half and half, and vanilla extract until well combined. -
Step 4
Gently fold the strawberry mixture into the cream mixture until evenly distributed. -
Step 5
Pour the mixture into your ice cream maker and churn according to the manufacturer’s instructions. -
Step 6
Once churned, transfer the ice cream to a freezer-safe container and freeze for at least 2-4 hours, or until firm.
Important Information
Nutrition Facts (Per Serving)
It is important to consider this information as approximate and not to use it as definitive health advice.
Allergy Information
Please check ingredients for potential allergens and consult a health professional if in doubt.